|
PRODUCTS
GALLERY
SPECS
HELPFUL TIPS
OVERVIEW
PRODUCTS
GALLERY
SPECS
HELPFUL TIPS
Step 1: Prepare Base Leveling Pad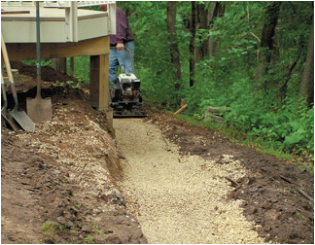
Remove all surface vegetation and debris. Do not use this material as backfill. After selecting the location and length of the wall, excavate the base trench to the designed width and depth. Start the leveling pad at the lowest elevation of the wall. Level the prepared base with 6" of wel lcompacted granular fill (class II road base or 3/4" [20 mm] crushed stone). Compact to 95% Standard Proctor or greater. Keystone recommends additional trench depth for below grade placement of Keystone units on a ratio of 1" (25 mm) below grade for each 8" (200 mm) of wall height above grade (to a maximum of 3 units buried). This lowers the base course below grade locking the wall in place and also helps prevent erosion and scouring at the base of the wall. The base trench should be wide enough to allow for the Keystone unit and drainage zone. An option to a compacted, granular material leveling pad is to use a non-reinforced concrete leveling pad. In some cases, contractors find this is a time-saving approach. Walls built to a level condition on a sloping grade require a stepped base. It is best to work out the stepped base as the wall steps up in elevation. If a concrete leveling pad is used, the step-up height needs to exactly match the Keystone unit height. Do not use PEA GRAVEL for leveling pad.
Step 2: Install & Level the Base Course.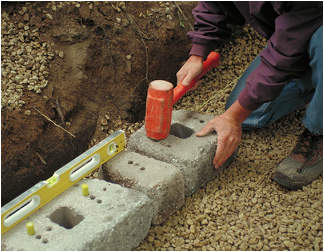
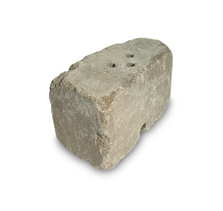
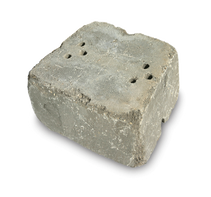
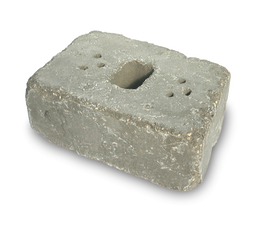
Place the first course of Country Manor units end to end (with front corners touching) on the prepared base. The long groove (receiving channel) on the unit should be placed down and the three pin holes should face up, as shown. Make sure each unit is level - side to side and front to back. Leveling the first course is critical for accurate and acceptable results. For alignment of straight walls, use a string line aligned on the unit pin holes for accuracy. Minimum embedment of base course should be 1" for every course.
Step 3: Install the Fiberglass Pins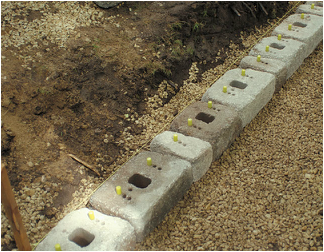
Place the shouldered fiberglass pins into the holes of the Country Manor Units (note: place one pin only per each grouping of three holes). Place pins in the middle hole for near vertical alignment or the holes nearest the embankment for a 9.5° +/- setback per course. According to wall requirements and design, the front pin hole (towards the face of the wall) can be used randomly to allow a forward projection of a specific unit for accent and variation in the wall appearance.
Step 4: Install Core Fill & Compaction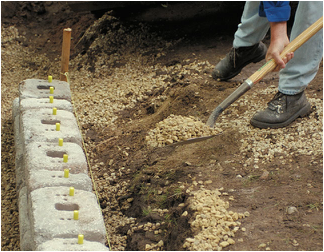
Once the pins have been installed, provide 1/2"- 3/4" (10 - 20mm) crushed stone drainage fill behind the units to a minimum depth of 12" (300mm). Fill open spaces between units and open cavities/cores with the same drainage material. Proceed to place backfill in maximum 6" (150mm) layers (lifts) and compact to 95% Standard Proctor with the appropriate compaction equipment. Do not use heavy ride-on compaction equipment within 3' (1m) from back of wall. Do not use jumping or ramming type compaction.
Step 5: Install Additional Courses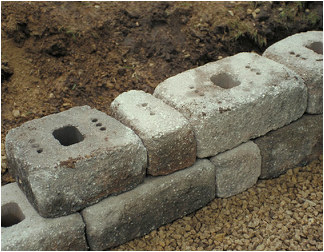
Place the next course of Country Manor units over the fiberglass pins, fitting the pins into the long receiving channel recess of the units above (Note: Some removal of debris in the pin holes and channel may be necessary prior to placement). Push the Country Manor units toward the face of the wall until they make full contact with the pins. If pins do not connect with channel but align in open core of upper unit, place drainage fill in core to provide unit interlock with pin. For near vertical alignment, center the unit above over the center placed pins below.
Step 6: Capping the Wall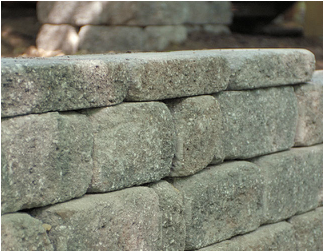
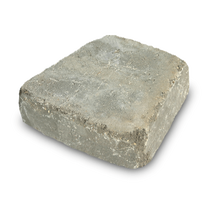
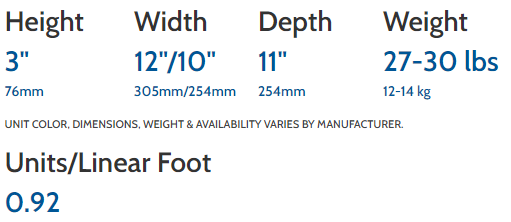
Continue all steps until ready to place the wall cap. Clean off the last course of Country Manor in preparation for the cap or coping to finalize the wall.With units dry and clean, use construction adhesive (Keystone Kapseal) for a mechanical bond. Install the Country Manor 3" (75mm) capping unit, architectural precast concrete or cut stone as a coping element. Cap may be flush or overhanging as required by aesthetics and design. Note: For taller, more critical walls, refer to geogrid soil reinforcement instructions on the following page.
OVERVIEW
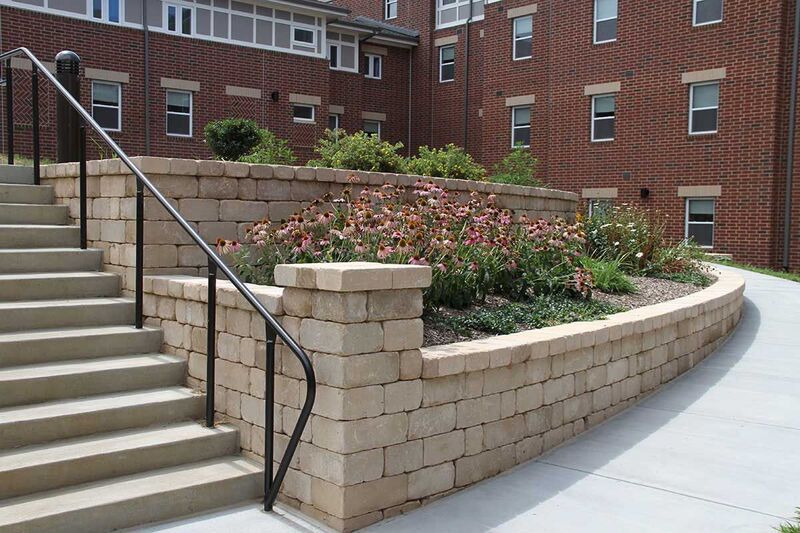
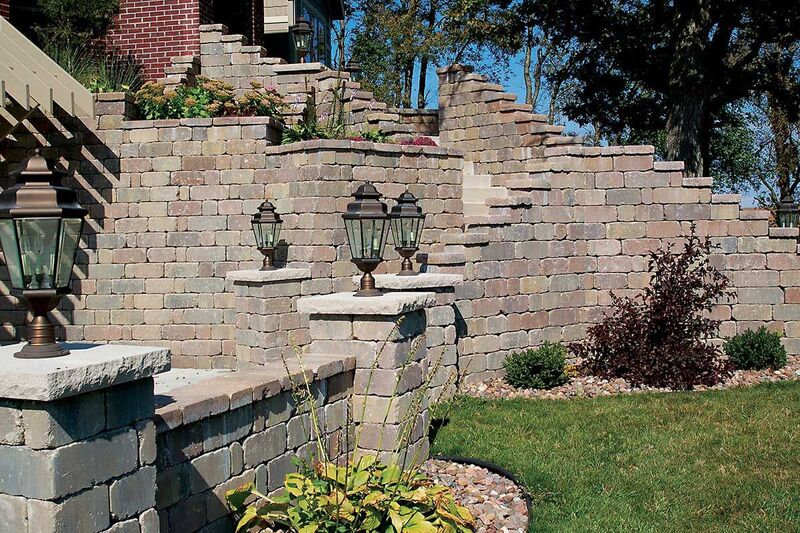
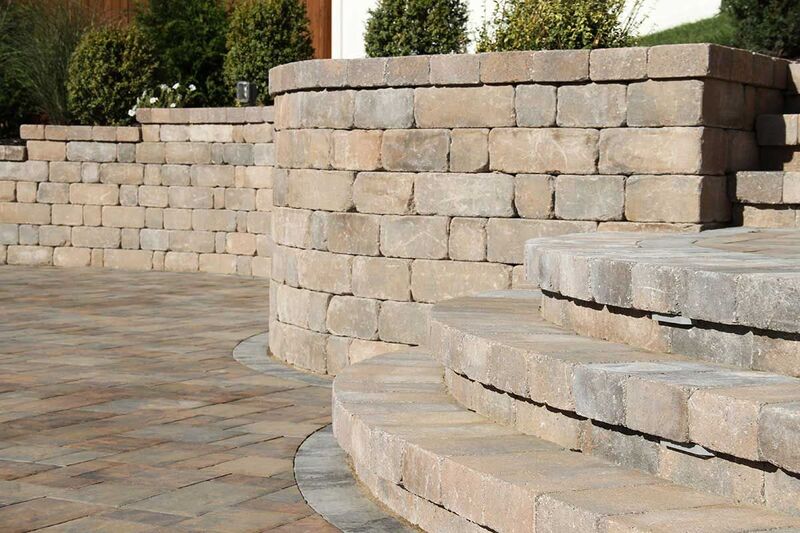
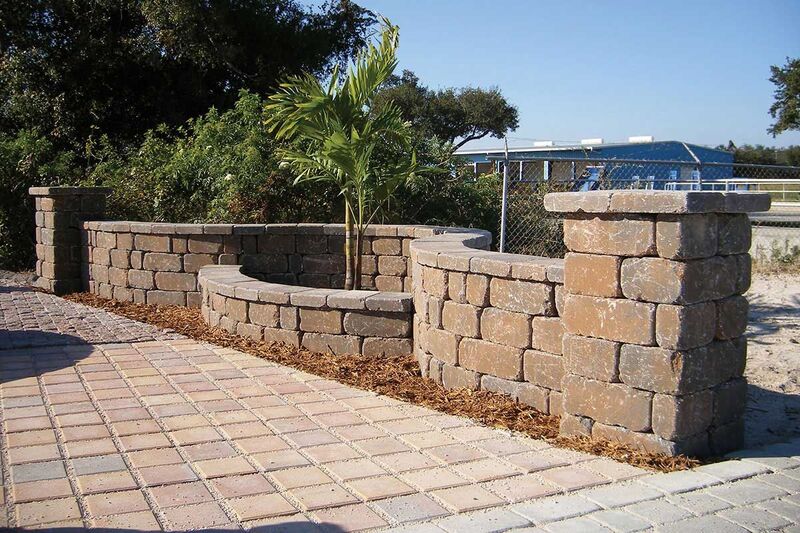
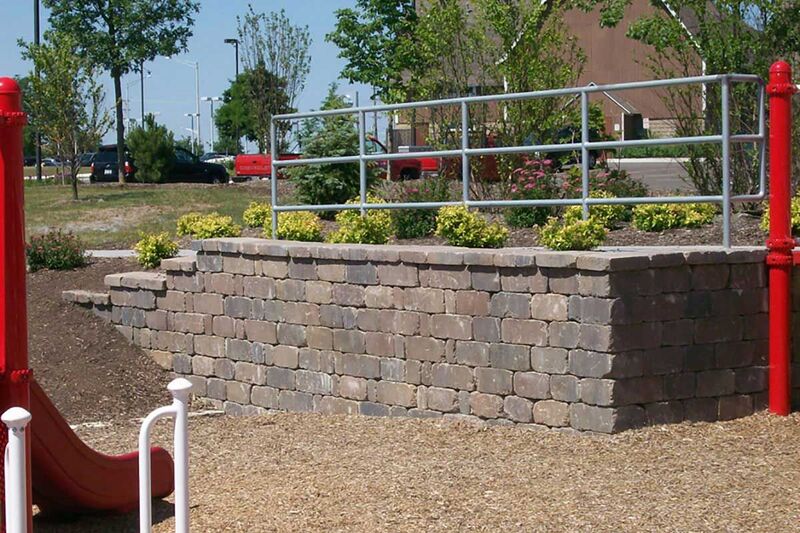
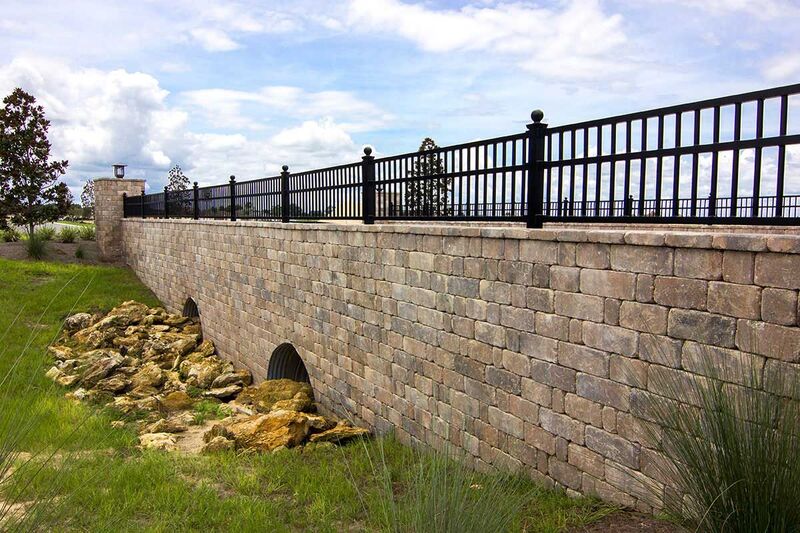
StonegateReminiscent of the walls found scattered throughout the European countryside, Keystone Stonegate features a smooth, weathered stone appearance. Stonegate delivers all of the best features of the original Keystone Country Manor, with a refined look. Featuring the look of smooth, weathered stone, Stonegate has all of the features of the original Country Manor. It's smooth face finish looks like cut stone and offers a more refined look. Utilizing Keystone's pin connection method, Stonegate offers the same freestanding wall options as the Country Manor and is suitable for larger, structural retaining wall projects. With color blends that enhance the natural stone like appearance, you should consider Stonegate on your next outdoor project. | |||
800-348-5577 |
Central Supply Company of
West Virginia 4923 Benedum Drive Bridgeport, WV 26330 |
Pay your bill online at: |
|
© 2024 Central Supply of WV, Inc. All rights reserved. All content protected.
Website Designed by Loggerhead Designs


